.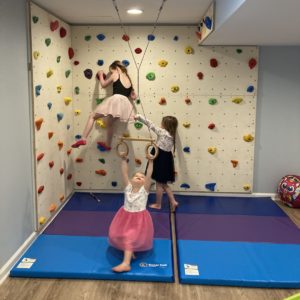
We’re always looking for ways to keep my kids physically active on days we’re stuck indoors. We have a modest-sized basement that’s easy to fill with toys and exercise equipment.
This past winter, the toys had piled up and lauren told me something to the tune of “stop strapping the kids to a treadmill ”. So, for my kids, I built an indoor rock wall. Let this page be a spiritual guide for anyone seeking sage wisdom in this domain.
Steps
- Find a spot
- Design a layout
- Prepare the boards
- Mount the boards
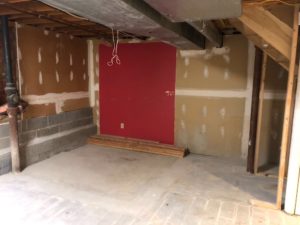
1. Find A SPOT
I aimed for a bouldering spot with corners/ceilings/etc. Consider:
- Height: If my basement were taller, the wall would be too. At least the kids can’t fall too far…
- Width: the sides of the plywood boards need to ~align with studs so its sturdy
- Depth: plywood will be 3/4″, if you have drywall will need an additional ~3/4″ of wood
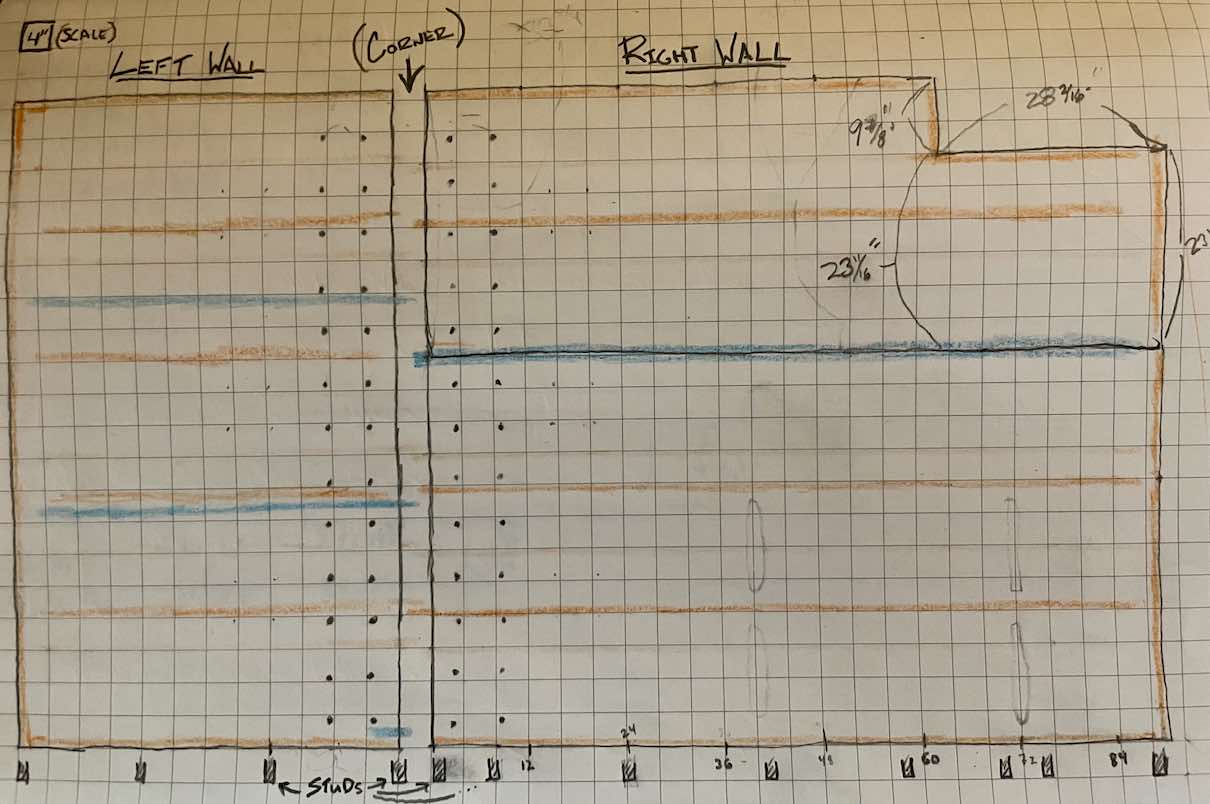
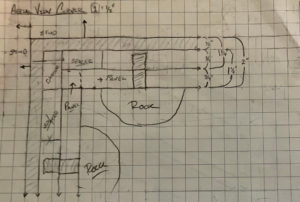
2. LAYOUT
Enumerate orientation options, paying close attention to where the studs are & rock holes will be.
1
Left Wall
– Two 4×8 boards, mounted horizontal
– stud centers on bottom (spaced funny)
– four cuts on the top board.
– dots are holes for rocks
2
Right wall
– Single 4×8 board, vertical
– 1 horizontal cut*
– floor was 1/4″ lower at one end
– line that up so the top is pretty

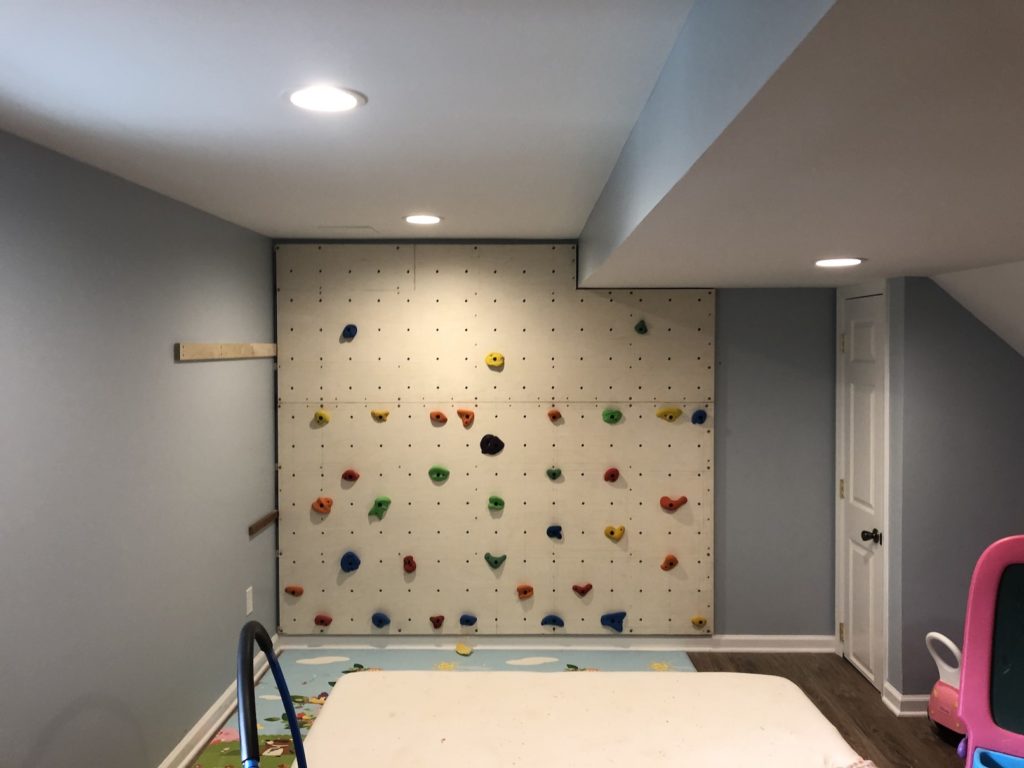
3
THE CORNER
– this was a real nuisance
– challenging to securely mount
– i kind of zig-zagged the mounting
– customize what works for you
4
THE STUDS
– I didn’t wanna remove the drywall
– So i’d have 2″ before reaching studs
– would need some big screws/bolts
– details in materials list 😮
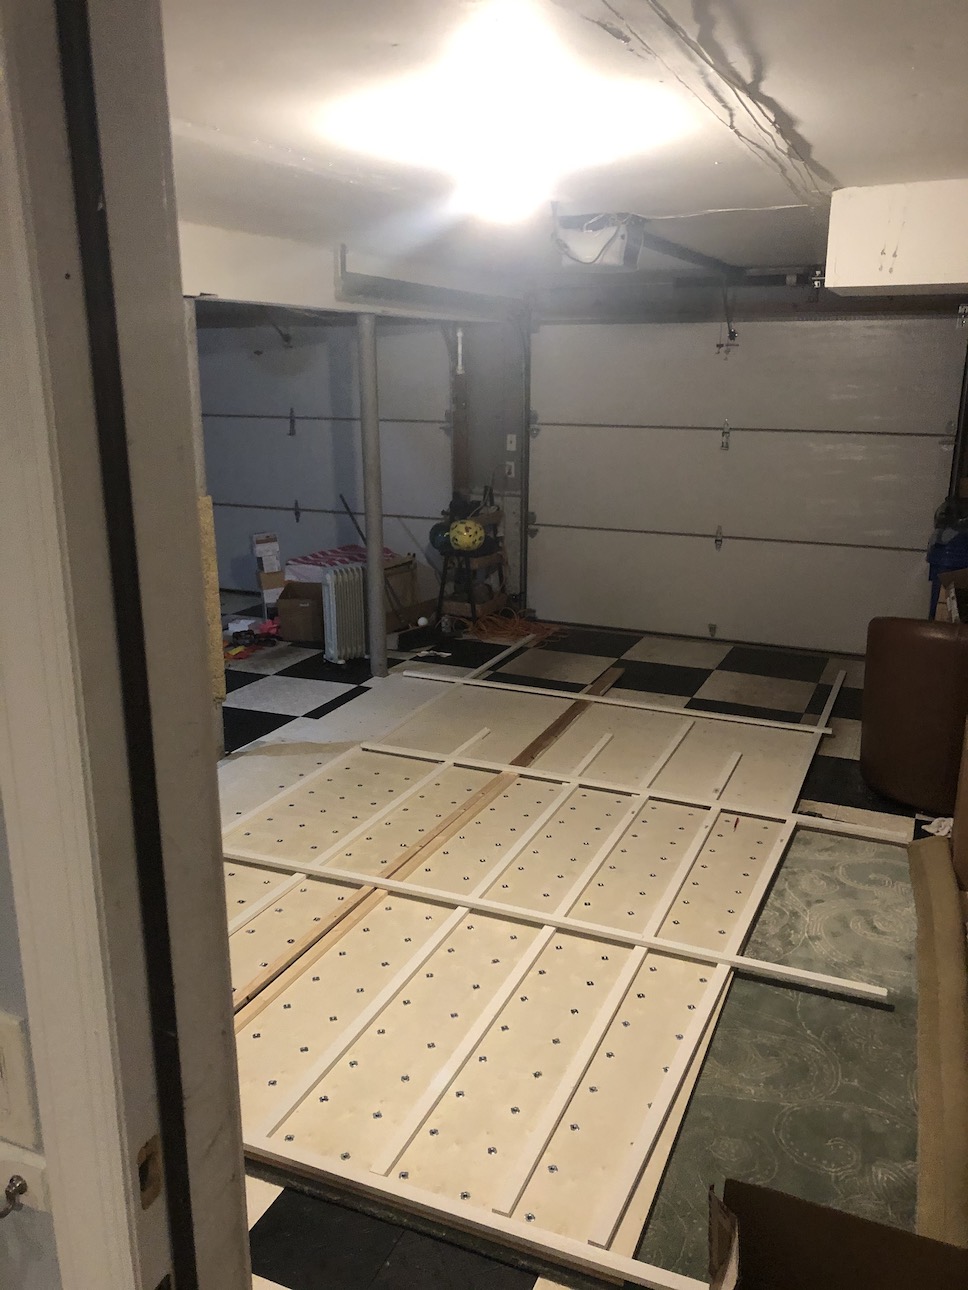
3. PREP BOARDS
Planning the positions for the rock holds is tricky. More pre-drilled holes provide flexibility with re-positioning and spacing of the rocks. An even grid is aesthetic, but may not be feasible b/c of the math. The most challenging aspect is ensuring there is a space behind the plywood board for the bolts (holding the rocks on) to protrude out so the rocks are securely fastened.
1
Draw where the cuts will be on your boards. don’t cut them yet
- Keep in mind the floor-ceiling height may be uneven
- I chose to keep the boards parallel with the ceiling
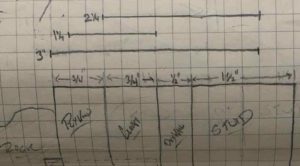
2
Draw where you will have spacers/cleats between the board + wall
- The cleats will fasten boards to studs. Have a cleat btwn adjacent boards to keep them flush
- The spacers make room for the rock bolts and ensure board stays tightly bound to wall
3
Determine a grid of holes, and draw them out. They must be outside areas reserved in above steps.
- If spacing evenly, ensure divisible by 48″. e.g. 8″ spacing => 4″ from all sides
- I went for 6″ spacing. It was a lot of holes, but good for little legs.
4
Pick a board. stack it, pretty face up, on top of a junk board. clamp them together tightly.
- I stacked 3 plywood boards and drilled them together. Saved tons of time.
- Having a junk board below where you are drilling will help prevent the wood from splitting
5
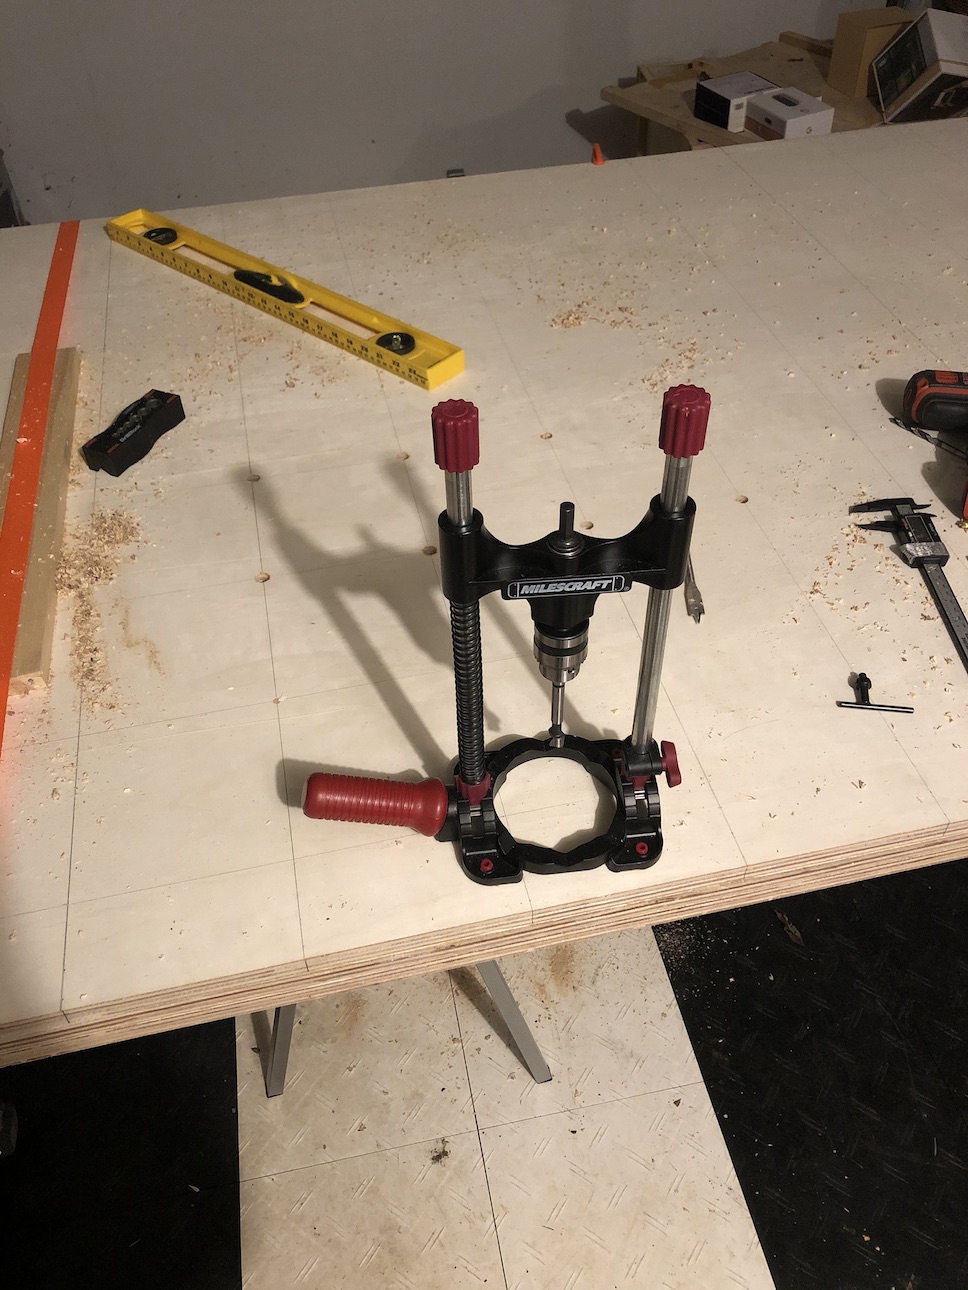
Use a 1/2″ forstner (else spade) bit and drill STRAIGHT, CLEAN holes. This will take time****.
- I linked a tool in the materials list that helps to drill straight holes. It helped, i think.
- Grab a beer. This is a real workout.
6
Place each board face-down. Place a small bit of glue on a t-nut. Hammer it in with a metal mallet.
- Some suggest then bolting in a rock to help secure / tighten the t-nuts.
- Repeat. This is less time consuming than drilling holes, but does take some time.
7
Cut your plywood. Mount the spacers onto the back of your plywood
- I predrilled 1/8″ holes before placing on they plywood
- I kept the cleats on the back of the boards to ensure alignment
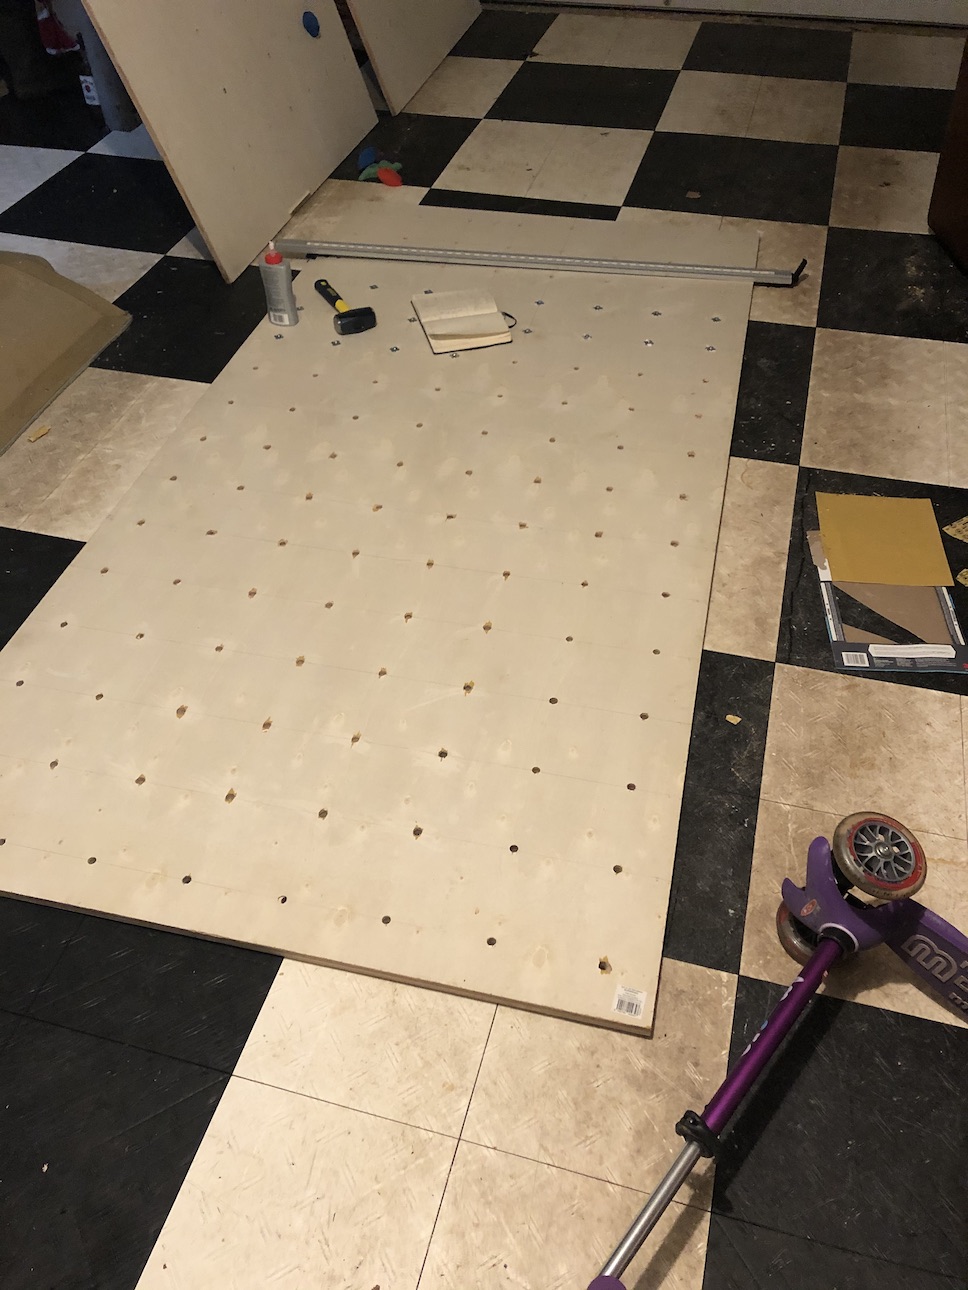
-

grid for holes
-
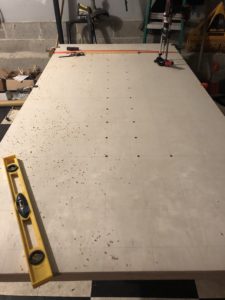
drilling holes
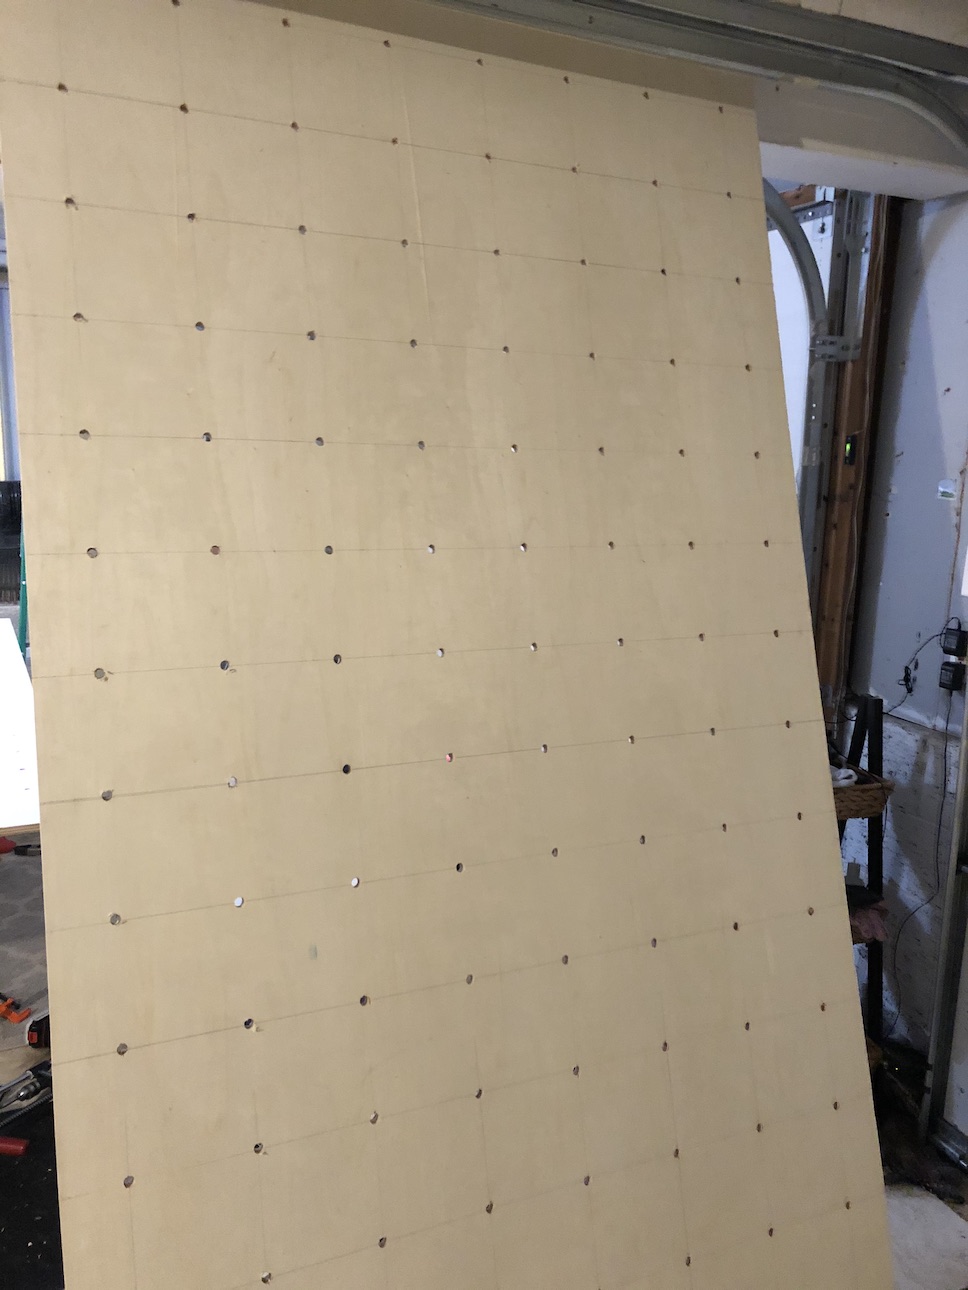
-

holes done
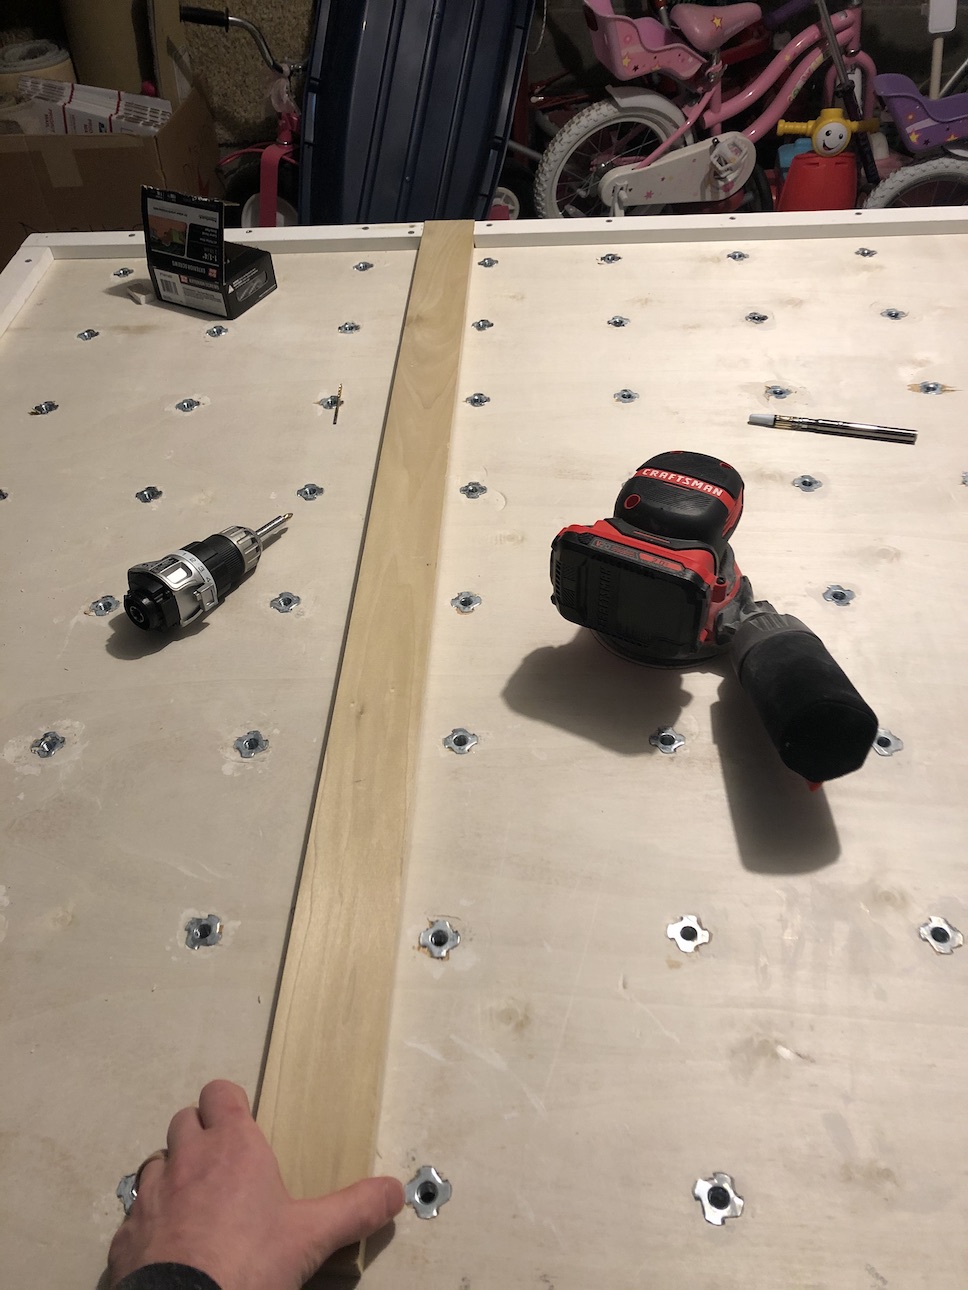
-

banging in t-nuts
-
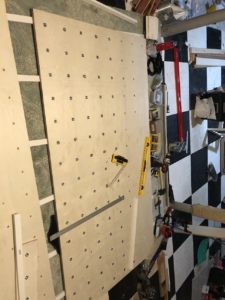
notice pencil markings
-

kept space for cleats
-

spacers


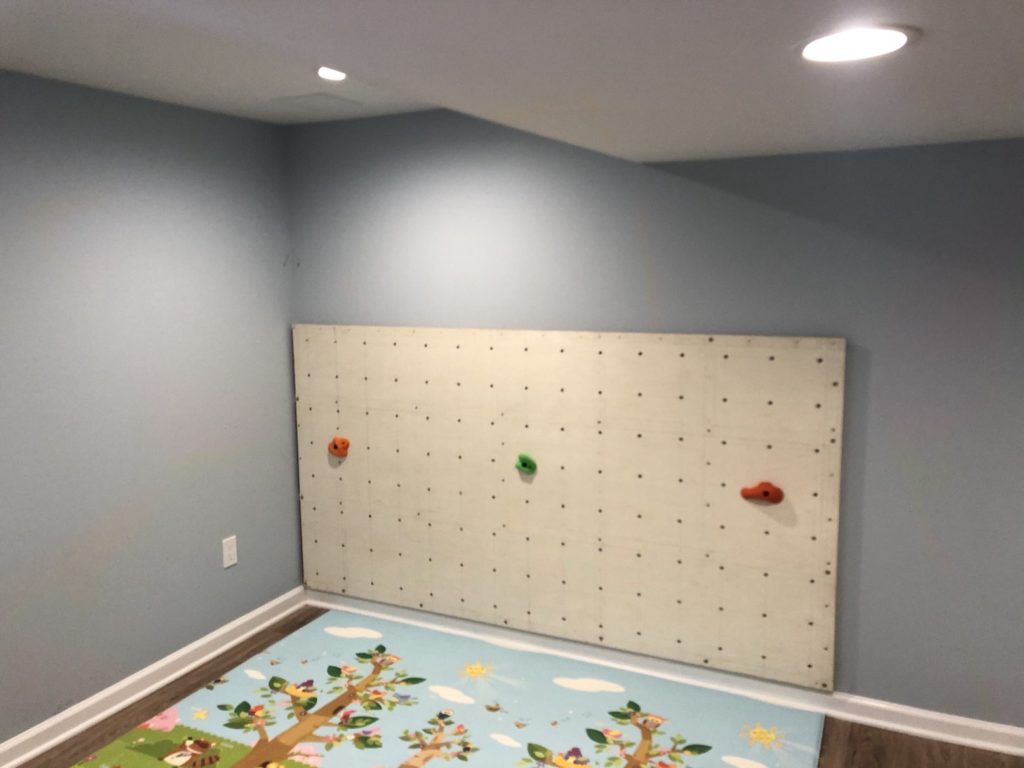
4. Mounting
This is certainly the easiest and most enjoyable part.
1
Secure any cleats you are using to the wall
- You don’t need to fully fasten them into the studs yet
- Will help with holding boards on the wall in next steps
2
Mount the lowest board
- Attach a couple of rocks to the board to help you lift it
- have a few pilot holes predrilled
3
Secure the mounting
- Drill evenly pilot holes through the plywood + cleats/spacers/studs
- Use heavy-duty lag screws
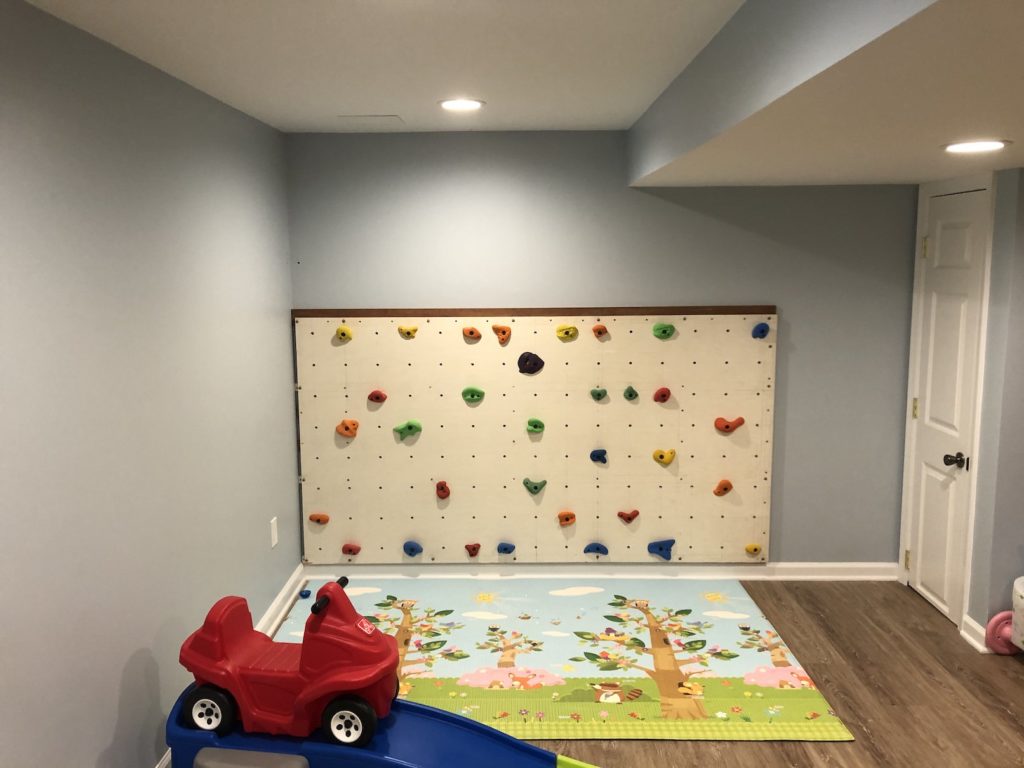
4
Repeat with other boards
- Ensure a flush fit with board ends
- Add rocks and enjoy 🙂
asdf
MATERIALS
Here is a list of materials for building your wall. I’ve put some links in but imagine they will expire in time…
Wood:
- 3 @ 4'x8' ACG plywood boards, 3/4" thickness.
- 14 @ 1" x 3/4" x 8' (for spacing plywood from drywall)
- get a few good 1"x3"x3/4" x 8' poplar boards (cleats)
Screws:
- bolts (i used #14 x 4inch, would go for 4.5-5" and possible thicker) (eg)
- long boys (I'd use thicker, but i used #10x5" eg)
- short ones (screw the spacers into the plywood, 1" or 1 1/8")
Drilling:
- 2 @ 1/2" forstner drill bits. Can try just 1 but it gets worn down.
- a bunch of clamps (simply to hold boards for drilling)
- I got a [link] to help ensure drilling straight holes. it helps some.
Other:
- Glue
- T-nuts 3/8-16" 1/2" 4 prong (eg). Kids' sets are often wrong threading.
- 3/8-16 socket head. Ensure compatible with T-nuts. (eg)
- rocks - i used amazon and https://www.atomikclimbingholds.com/ (also this but don't use tnuts/bolts)